Step-by-Step Guide to Kitchen Cabinet Installation
Installing kitchen cabinets is a significant part of any kitchen renovation. Whether upgrading an existing space or starting from scratch, knowing how to do cabinet installation saves time and money.
Though the process may be intimidating, breaking it down into clear, manageable steps makes it more manageable. Herein is a step-by-step guide through installing kitchen cabinets so that your project goes smoothly from start to finish.
Preparation Before Cabinet Installation
Before you begin the actual cabinet installation, preparation is key. Proper planning ensures that the installation process goes smoothly without unnecessary delays or complications. Start by gathering all the necessary tools and materials.
You will need a tape measure, level, drill, screws, stud finder, shims, and clamps, among other tools. Having everything ready at your disposal will save time and avoid frustration during the process.
Next, carefully measure your kitchen space. This step is crucial for determining the layout and placement of your cabinets.
Double-check your measurements to ensure accuracy, as even a small mistake can result in poorly fitted cabinets. Also, identify the location of the studs in the wall using a stud finder, as this will be important for securely mounting the cabinets.
Remove Old Cabinets and Clear the Space
If you are replacing older cabinets, then removal must take place first. First of all, you will start by clearing all the contents from the cabinets and also from the countertops. Secondly, you will disconnect all appliances that may probably be in the way to the process of cabinet installation.
You should be very cautious when removing the old cabinets so that you may not damage any of the walls or countertops that are to stay. Use a utility knife to cut through any caulk or adhesive holding the cabinets to the walls. Start with the doors and drawers, then move on to the cabinet boxes themselves.
Unscrew the cabinets from the walls, taking care to have someone support the weight of each cabinet as you remove it. Once all the cabinets are out, clean the space thoroughly to ensure that it is ready for the new installation.
Locate and Mark Studs for Cabinet Installation
With the space cleared, the next step in cabinet installation will be marking the studs in your kitchen walls. Studs are very crucial in giving a free fall security of the cabinets, for they will hold the weight of the cabinets.
Locate the studs along the wall where you are going to install the cabinet, and use a stud detector to help you find them. Once you have found them, mark their positions with a pencil.
Make sure to also measure the height of your base and wall cabinets and mark these on the wall. A level will help you mount level cabinets. In marking this position, you will find that accuracy is key because any slight deviation will lead to issues later.
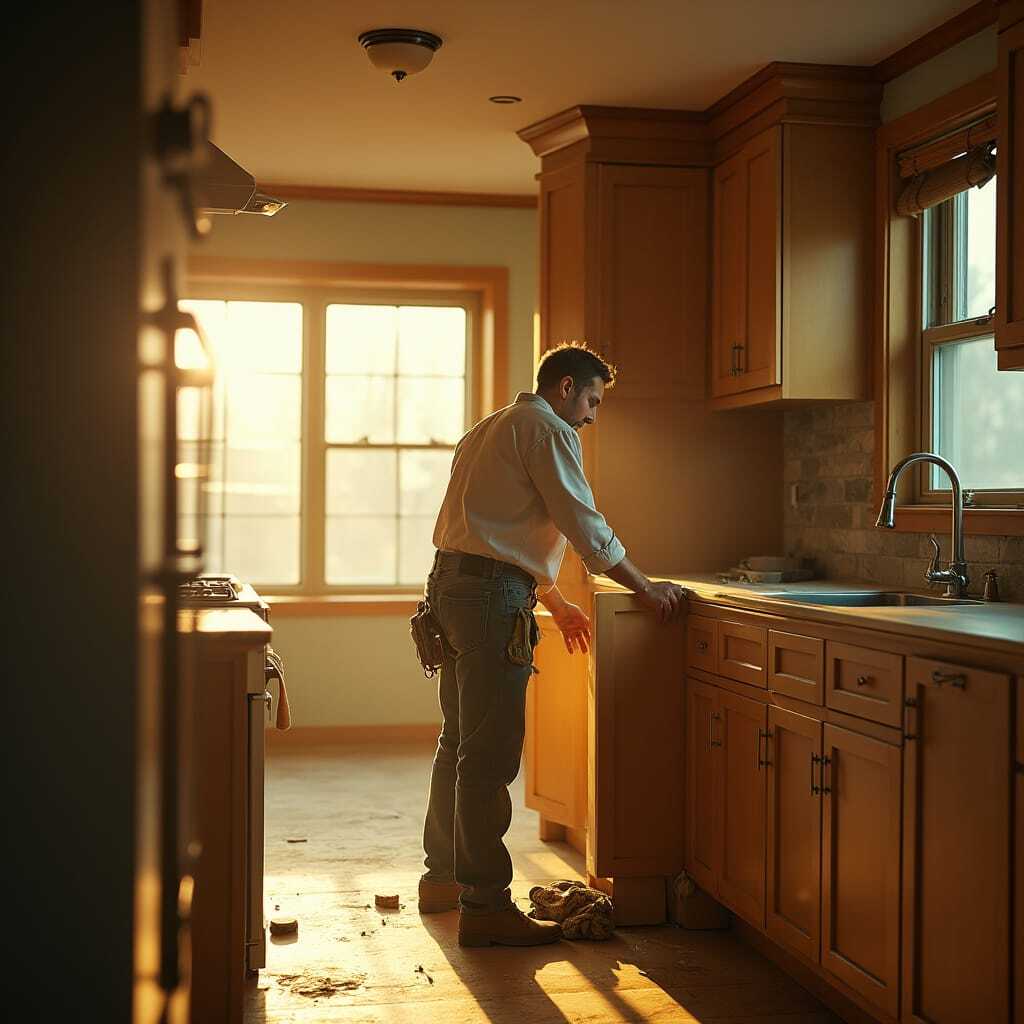
Install the Upper Cabinets First
When performing cabinet installation, it is generally recommended to start with the upper cabinets. Installing the upper cabinets first prevents the base cabinets from getting in your way and gives you more room to work.
Begin with the corner cabinet; it will provide a reference point for the remaining upper cabinets. Align the cabinet with your stud markings and then screw the cabinet to the wall by driving screws into the studs. Clamp the cabinets in place as you screw the cabinets.
After the corner cabinet has been mounted, proceed with the rest of the cabinets next to it. Screw these cabinets together; make sure they are level and flush with one another. Repeat this with all the upper cabinets until all are mounted.
Install the Base Cabinets
With the upper cabinets in place, it’s time to move on to the base cabinets. Begin by positioning the corner base cabinet first, just as you did with the upper cabinets. Use shims to level the base cabinet, as uneven floors can affect the cabinet’s alignment.
Once the corner cabinet is level, secure it to the wall by driving screws into the studs. When the corner cabinet is in place, set the first surrounding base cabinets. Shim as necessary to ensure that all the cabinets are level.
Screw the cabinets to one another and then to the wall. Continue this process until all base cabinets are in place. Lastly, check the alignment of all the base cabinets with a level. Now adjust the shims as necessary to make sure everything is straight and level.
Attach Cabinet Doors, Drawers, and Hardware
As the cabinets are already intrinsically mounted, it is time for the doors and drawers to be reattached. Attach the hinges, connecting the doors to the cabinets. At this point, make sure that the doors are aligned and open and close smoothly.
If necessary, readjust the hinges to ensure that they fit perfectly. Install the drawers next, ensuring they slide along the tracks. Good alignment here saves headache later, so take your time and get it right.
Finally, attach hardware in the form of handles and knobs to the cabinet doors and drawers. Make sure to measure accurately and be consistent among all your doors and drawers. This final flourish can really make a cabinet functional and give it a lot of flair.
Final Adjustments and Cleanup
Once the cabinet installation is complete, it’s time for the finishing touches. Double-check the alignment of all doors and drawers, making any necessary adjustments. Ensure that all screws are tight and that the cabinets are securely attached to the wall. Test the functionality of everything to make sure it’s working smoothly.
After completing the installation, clean up the workspace. Remove any remaining shims, vacuum up debris, and wipe down the cabinets to remove dust. A thorough cleanup ensures that your new kitchen is ready for use and looks as good as new.
Seek Professional Help if Needed
While this is a comprehensive step-by-step walk-through on how to install the cabinets, some jobs are just tailor-made for professionals. If you are leery about any part of the process or just plain have an issue, please don’t hesitate to call a professional installer to handle the job for you. That way, you won’t be wasting time and money on costly mistakes, and you will be sure the cabinet is securely and safely attached.
Master Your Kitchen Cabinet Installation
Installing kitchen cabinets is a rewarding project that can completely transform your kitchen. By following this step-by-step guide to cabinet installation, you can take on the task with confidence, knowing that you’ve covered all the essential steps. From preparation and removal to precise installation and finishing touches, this guide provides the comprehensive instructions needed for a successful cabinet installation.
It’s all about careful planning and attention to detail. Whether you are a seasoned DIYer or just starting out, these steps will guide you through the completion of a cabinet installation with precision and care. If at any time you feel like it is getting too much, professional help is always a better option.
Upstate Kitchen & Bath
If you’re ready to start your kitchen cabinet installation project, contact Upstate Kitchen & Bath today. Our expert team is here to help you turn your renovation dreams into reality. You can reach us at +1 (864) 497-2319, email us at info@upstateknb.com, or simply click the WhatsApp icon in the bottom right corner of our website to request a quote.
Let us bring your vision to life with a seamless kitchen cabinet installation that transforms your space into the kitchen you’ve always dreamed of.