A Comprehensive Guide to Costs, Challenges, and Expert Tips
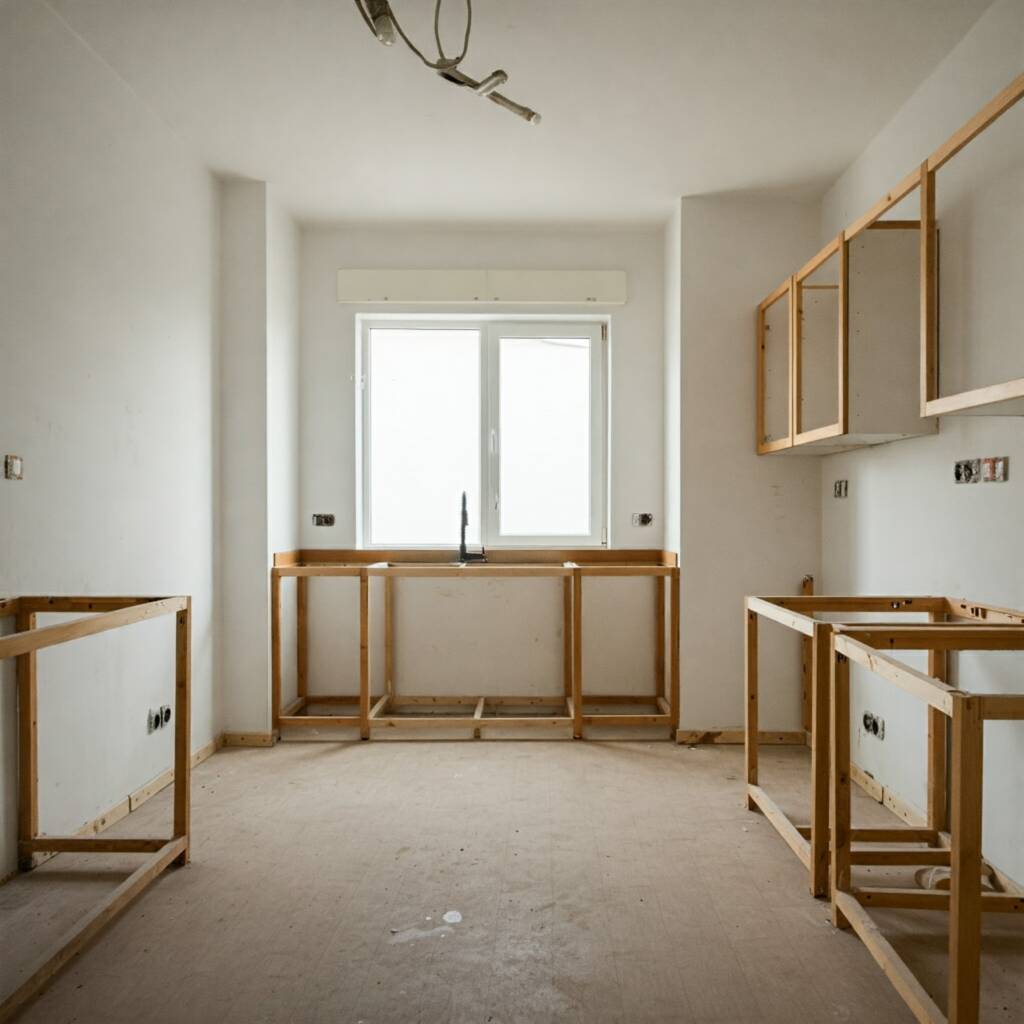
When planning a kitchen renovation, removing kitchen cabinets is often one of the first steps. While it may seem straightforward, removing cabinets requires careful planning and execution to avoid damage and keep costs down.
Whether you’re simply upgrading to new cabinets or are preparing for a full-scale kitchen renovation, the awareness of costs involved, the potential problems, and how best to address it will go a long way.
This post has walked you through how to remove the kitchen cabinets, talked you through possible challenges that might crop up, and shared some tips that will hopefully make it as painless as possible.
Understanding the Costs of Removing Kitchen Cabinets
The first question most homeowners have is, “How much does it cost to remove kitchen cabinets?” The cost can vary depending on several factors, including whether you plan to do it yourself or hire professionals.
- DIY Removal: In case you opt for the do-it-yourself method, the cost will usually be in the form of time, effort, and small tools involved. Depending on your expertise and the condition of your cabinets, it may just give you some savings from doing it yourself. However, the possibility of incorrect wall or countertop damage when removing them can easily count some extra, unexpected costs.
- Professional Removal: Hiring professionals for removing kitchen cabinets will generally cost between $300 and $800, depending on the size of your kitchen and the complexity of the job. While this adds to the overall renovation budget, it ensures the cabinets are removed properly, minimizing damage to other parts of the kitchen.
Keep in mind that if your kitchen has custom-built or older cabinets, the cost may increase due to the extra labor required to dismantle and remove them without causing damage.
Challenges You Might Face When Removing Kitchen Cabinets
While removing cabinets from a kitchen may sound pretty straightforward, there are a bunch of complications that could arise especially if the cabinets are older or were installed in some non-standard way. Common complications that may be experienced by homeowners in this process include:
- Hidden Fasteners and Screws: Some cabinets have hidden screws or fasteners behind paint or decorative molding. That makes removal a little tricky because you could be forcing the cabinets off without properly locating all fasteners and damaging your walls or your floors.
- Damage to Surrounding Areas: If the cabinets are removed without caution, the wall, countertop, or backsplash of the surrounding area may be damaged. Many a time, this happens with built-in or custom cabinets. The extra time and effort in carefully prying the cabinets away from the walls will save you from costly repairs.
- Removing Plumbing and Electrical Fixtures: But if it involves plumbing or electric, well, that’s a whole other story. You may have to shut off power or water supply lines so you can take them out without injury. And if you happen to inadvertently rupture one of those pipes or slice through the wrong wire, repair bills begin to mount, raising the cost of your project.
Each of these challenges highlights why removing kitchen cabinets may not always be as simple as it appears. Assessing the condition of your cabinets and planning the removal carefully will help mitigate potential problems.
Step-by-Step Guide
Now that you understand some of the challenges and costs, let’s walk through the step-by-step process for removing kitchen cabinets:
1. Prepare the Area
You will have to empty your cabinets completely, including the appliances and furniture standing next to them, before commencing the removal. You will also want to protect your countertops and floors in case damage occurs during the removal by laying down protective sheets.
If you’re working near any electrical or plumbing fixtures, turn off the power or water supply to avoid accidents. Having the right tools on hand, such as a pry bar, drill, and screwdriver, will also make the process smoother.
2. Detach Cabinet Doors and Hardware
Remove all cabinet doors, including hardware, and drawers. This relieves some of the weight from the cabinet, making them lighter to handle. Begin by unscrewing the hinges that hold them to the frame and gently pulling the doors away from the frames. If you’re reusing the screws and hardware store them in a safe place.
Removing the hardware first is an important step, as it prevents unnecessary strain on the structure of the cabinets during the removal process.
3. Remove Wall Cabinets First
Remove the wall cabinets first if you have wall-mounted and base cabinets. This way, the litter and dust will not fall on the base cabinets; thus, the process is cleaner and far safer.
Loosen wall cabinets from mounting brackets or screws with a drill or screwdriver. Make sure to have someone else on standby to hold the cabinet while unscrewing it to prevent falling that may cause damage to the cabinet.
4. Remove Base Cabinets
Now, take care of the base cabinets after the wall cabinets are off. The bases are usually screwed into the floor or to the wall with screws. Use a drill to unscrew the fasteners holding the cabinets in place, and insert a pry bar to carefully pry it from the wall, if necessary. Be careful with plumbing fixtures, because base cabinets are also usually installed around sinks and dishwashers.
5. Clean Up the Area
Depending on your wall and floor conditions, you will probably need to clean off some debris, dust, or adhesive from the walls and/or floor once the cabinets are removed. Remove any remaining caulk and glue using a scraper; patch any holes or damage to the walls.
This ensures that your kitchen is ready for new cabinets or to proceed to the next step in the renovation.
Tips for Successfully Removing
To make the process of removing kitchen cabinets smoother and more efficient, here are a few helpful tips:
- Label Everything: If you plan on reinstalling or reusing the cabinets in another area, label all doors, drawers, and hardware. This will save you time and confusion during reassembly.
- Have a Helper: Removing cabinets can be a two-person job, especially when handling large or heavy pieces. Having someone assist you will not only make the process faster but also reduce the risk of injury or damage.
- Plan for Disposal: Once your cabinets are removed, you’ll need to dispose of them. Contact your local waste management service to arrange a bulk pick-up, or consider donating the cabinets if they are still in good condition. Some recycling centers may also accept old cabinetry.
- Patch and Repair: After you have removed the cabinets, take a little time to evaluate the walls and floors for any damage. Patching up holes or refinishing surfaces will make the installation of new cabinets easier and provide a smoother finish.
Reusing or Donating Old Cabinets
Another option after removing kitchen cabinets is to consider reusing or donating them. If the cabinets are still in good condition, they can be repurposed in another room or even donated to a local charity.
Many organizations, such as Habitat for Humanity, accept gently used cabinetry to help with their housing projects. Not only does this reduce waste, but it also allows your old cabinets to benefit others.
Removing Kitchen Cabinets
- The process of removing kitchen cabinets may seem daunting, but with the right preparation and tools, it can be completed successfully. Whether the job is done personally or with hired professionals, a worry-free kitchen renovation involves staying ahead in every regard to any and all of the potential costs, obstacles, and steps throughout the process.
- By following these tips and taking into consideration a few possible challenges, you’ll be able to confidently undertake this first stage of your kitchen remodel and give yourself a great foundation for a beautiful, updated space.
- Once you begin removing kitchen cabinets, it becomes clear that finding a reliable supplier for replacements is just as important as the removal process itself. You need a company that not only provides high-quality materials but also offers customizable options to suit your new kitchen design and budget needs.
- For example, Upstate Kitchen & Bath offers durable, well-constructed shaker cabinets that can be tailored to meet your specific renovation goals.
Whether you’re completely overhauling your kitchen or simply replacing old cabinets, partnering with a trusted supplier guarantees that you’ll get the best value for your project.
Contact Upstate Kitchen & Bath today at +1 (864) 497-2319, email info@upstateknb.com, or visit their website for personalized guidance on selecting the perfect shaker cabinets for your remodel.